You might have different motivations to switch to a different hosting provider. Either your previous provider doesn’t offer a proper level of service or you are looking for or you need a plan to better suit your budget and needs. You might be also interested in a broader selection of services offered by the provider like in case of hosting DDoS protection VPS.
Eventually, this all may lead you to the need of migrating your website to a new host. Today, we want to have a look at how to transfer your old website to a new server of a new hosting provider.
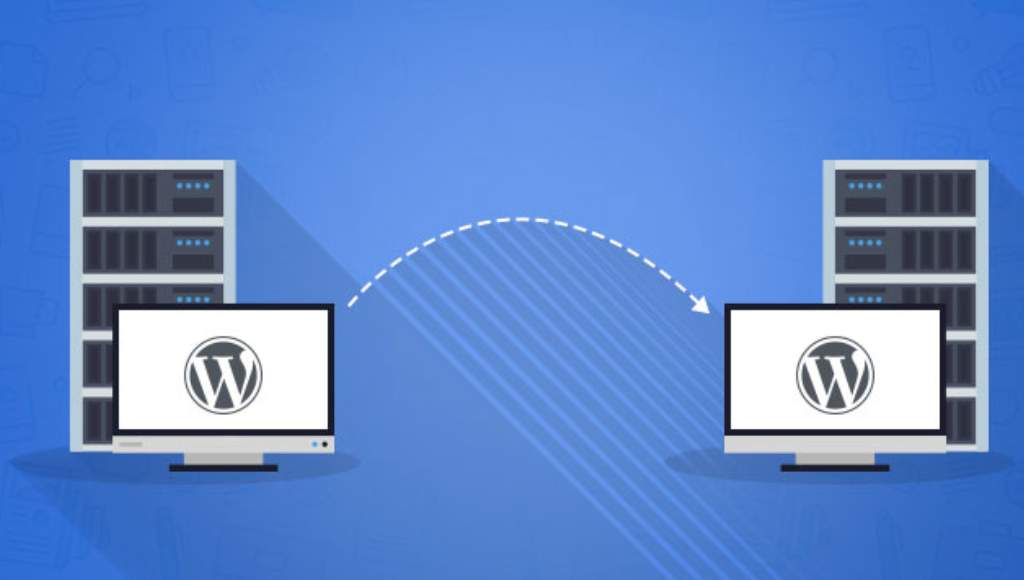
Migrating your website a new server
First of all you have to choose a plan that will be suitable to your hosting needs. Given that you’re reading this post, chances are you already have a server to which you’re going to migrate your website. Otherwise make sure to purchase one that is suitable to your requests.
Once you already have your server ready for operation as well as access to it, you can move on to actually migrating your website to it.
You may ask your provider whether they provide assistance in migrating your website to the new server. If they don’t offer it or you just want to have a better understanding of how the process is done, you can proceed to the manual migration of your website.
Backup your website
To migrate your website, the first thing you need to do is to create a backup version of your website. You can use a FTP client (such as FileZilla) to download your files from your current host.
If you’re using FileZilla:
-
- First, download and install the client.
- Then, locate your FTP credentials, that typically include: FTP Host/Server, FTP Username, FTP Password, and FTP Port.
- Connect to your FTP server. First, launch your FileZilla client, go to “File” and then “Site manager”. Add a new site, entering all the necessary information.
- Navigate to your website files: Upon connecting to your server, the right pane (Remote Site). Then, navigate to the public_html or www or whatever directory your website is stored at.
- Download your website files: In the left pane, Local Site, go to the directory on your local computer where you want your website files to be stored.
- Then, select the files and directories to be downloaded. For your convenience, you can select multiple items by clicking and dragging on them. To download the files, right-click on them and select “Download”. You can also just drag your files from the right pane to the left pane.
- Wait until the files are downloaded. You can monitor this in the transfer queue at the bottom of FileZilla. Once the files are downloaded, check whether all files have been downloaded correctly and proceed.
Also, make sure to export your database, by first accessing it via a tool like phpMyAdmin and then exporting it as a SQL file. Let’s see how it’s done.
- You can do it through your hosting control panel. Go to it and find phpMyAdmin that is usually to be found in the databases section.
- Open phpMyAdmin and select the database to export. Click on the database that you want to export. This will display all the tables within that database.
- Once you’ve selected your database, click on “Export” in the top menu. Choose the export method, either “Quick” with default options or “Custom”.
- Make sure that format is set to “SQL” and click “Go”. Your browser will prompt you to download the SQL file, save it to the preferred location.
Preparing the server
Prepare your server for hosting a new website.
Create your hosting account through your control panel.
Then, perform the necessary basic server configuration like PHP version, database and others, to meet your current setup.
Transfer files along with databases
Now use your FTP client to upload your website files to the new host.
To import your databases, you can use phpMyAdmin or similar tools. Make sure to update your database configuration files like wp-config.php in case of WordPress with new database configuration.
Update DNS settings
The next step is to locate your DNS settings. Go to DNS settings in your domain registrar’s control panel.
Then, update nameservers, by changing nameservers to the ones offered by your new host.
Keep in mind that to achieve global propagation, you’ll have to wait up to 48.
Test your website
Now your website is already on the new server. What remains is to make sure it works
You can check it even before the completion of your DNS propagation with a temporary URL which is often offered by the provider.
Make sure to check all the website functions, such as forms, links and dynamic content.
Also, make sure to check your website’s SSL certificate, whether it’s working correctly and installed properly on the host.
Conclusion
Now you know how to migrate a website. We’ve tried to cover in detail how to perform website migration so now you should have a good idea what to do even in case your provider doesn’t offer assistance in migration. We hope that the information was clear and wish you good luck.

Naveen Khanna is the CEO of eBizneeds, a company renowned for its bespoke web and mobile app development. By delivering high-end modern solutions all over the globe, Naveen takes pleasure in sharing his rich experiences and views on emerging technological trends. He has worked in many domains, from education, entertainment, banking, manufacturing, healthcare, and real estate, sharing rich experience in delivering innovative solutions.